Asset Management
The Asset Management menu centralizes asset records, providing visibility, traceability, and consistent tracking to support security, risk, and compliance.
Adding a New Asset
To add a single asset to the inventory, follow these steps.
- Open the Asset Management page.
- Select Add Asset.
- Select Add Single Asset.
- Enter the required asset information in the form.
- Select Add Asset to save the entry.
Adding Assets in Bulk
To add multiple assets at once using an Excel file, follow these steps.
- Open the Asset Management page.
- Select Add Asset.
- Select Add Bulk Assets.
- Select Choose File.
- Select the Excel file containing asset data.
- Select Upload File.
- Review the asset preview table generated from the file.
- Select Add Asset to confirm.
- Review the newly added asset records in the list.
Note: Confirm the Excel file meets the required format before uploading.
Updating an Asset
To update information for an existing asset, follow these steps.
- Open the Asset Management page.
- Select the asset row to be updated.
- Modify the asset information in the form.
- Select Update Asset to save the changes.
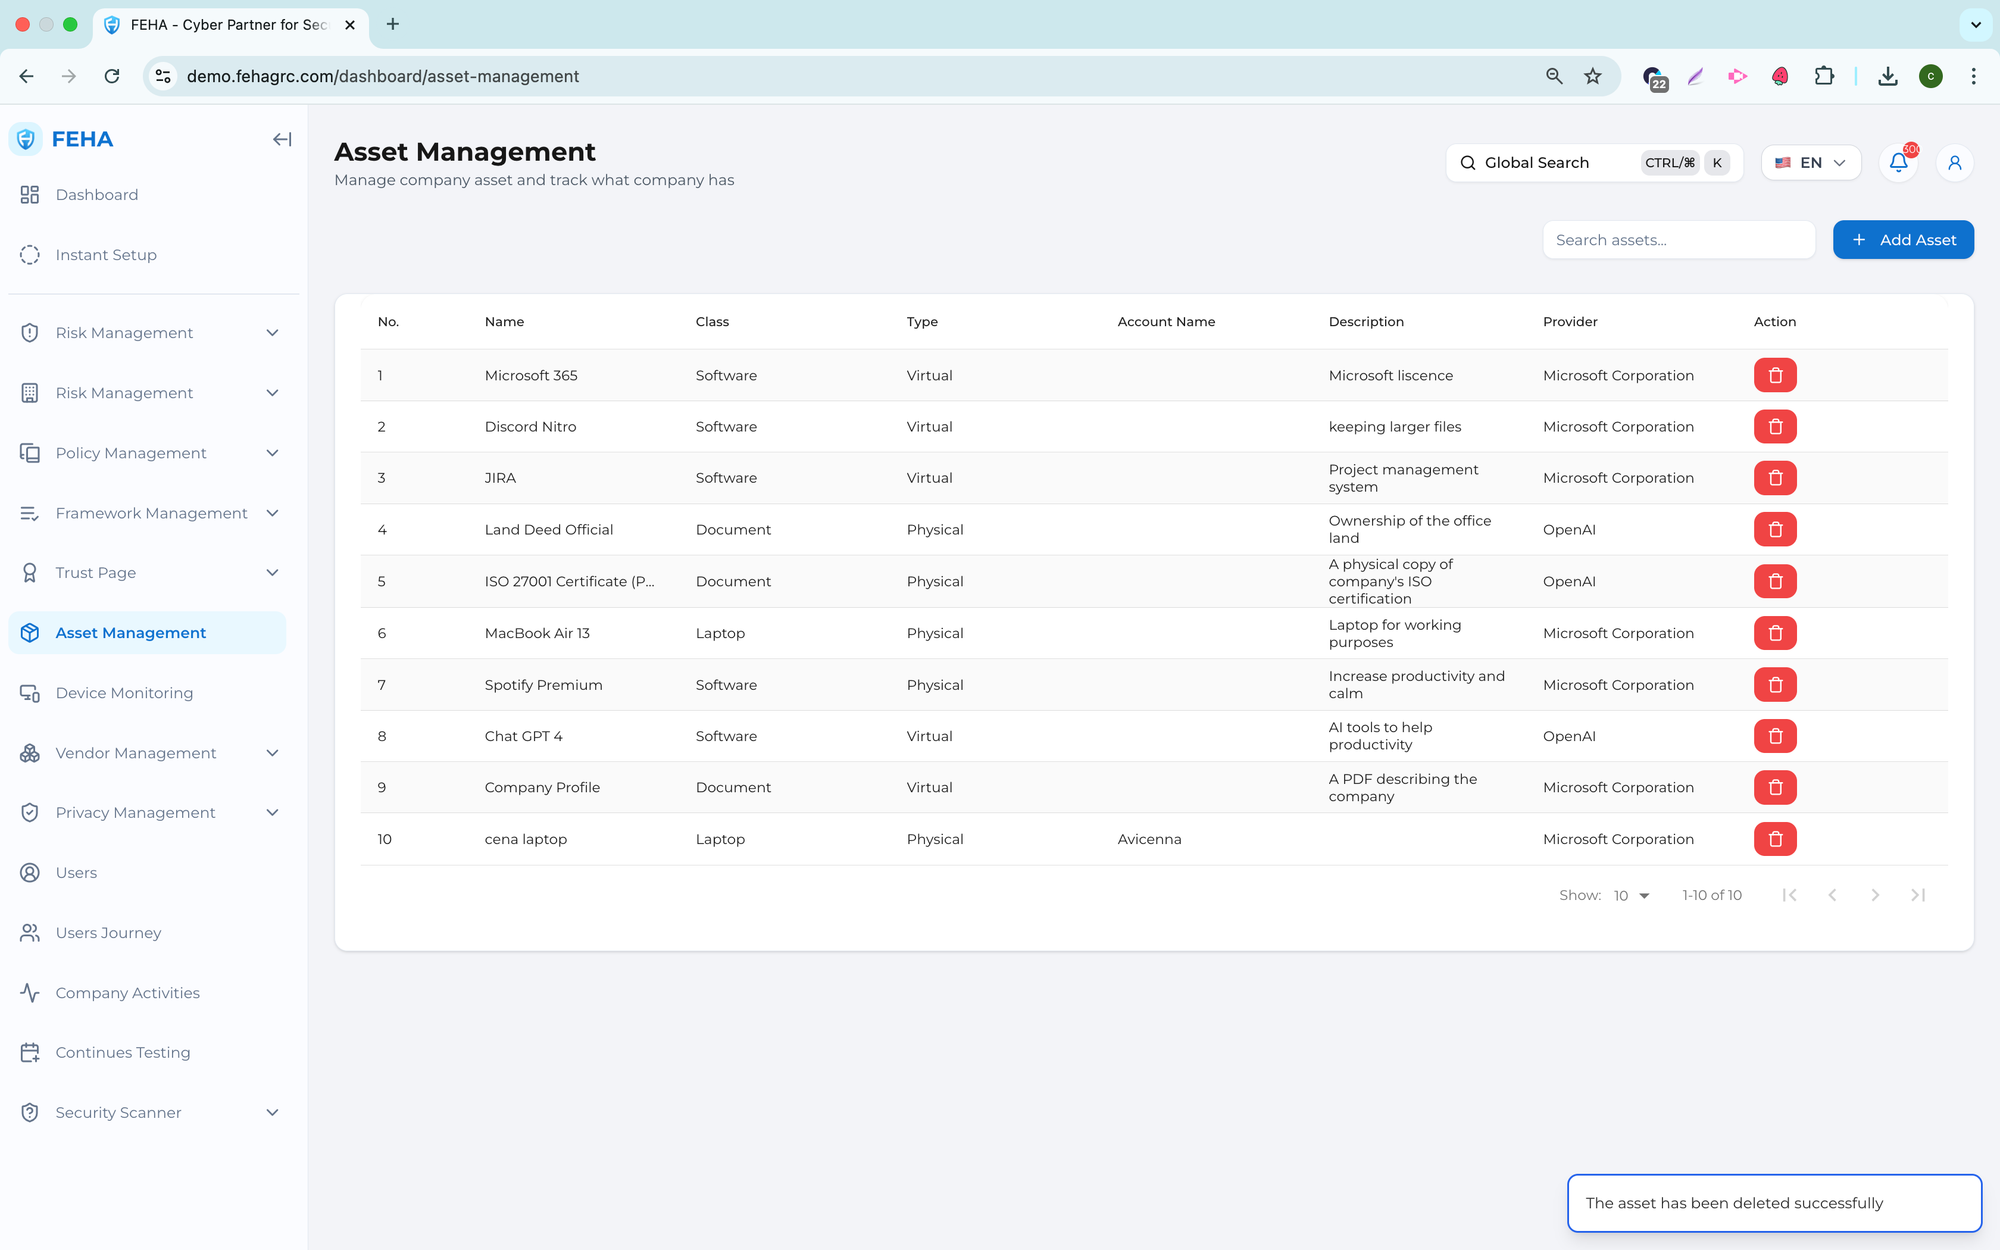
Deleting an Asset
To remove an asset from the inventory, follow these steps.
- Open the Asset Management page.
- Select Delete on the relevant asset row.
- Confirm the deletion in the confirmation dialog.
Note: Deleted assets cannot be recovered.
Searching for Assets
This case explains how to search for assets using the search field.
- Open the Asset Management page.
- Select the Search Assets field.
- Enter the asset name or keyword.
- Review the filtered list of matching assets.